Interactive Status Screen for Marlin Firmware: an experiment using PCD8544 Nokia 5110 LCD Controller
 This is an interactive status screen for Marlin 3D Printer Firmware that I integrated into Marlin for a DIY 3D Printer. It enables you to access and tweak the most useful printer functions right from the status screen. The top bar (first line)
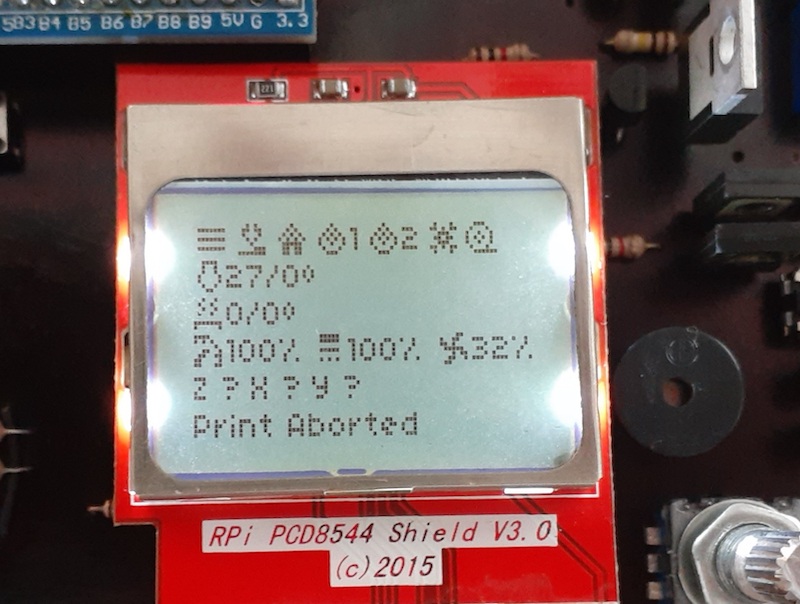
  is a set of “buttons” to access Menu, Print from SD, Home all, Preheat 1, Preheat 2, Cooldown, and Filament menu.
The other items on the status screen are also interactive: Nozzle and Bed temperature, Feedrate/speed, Flow percentage, Printing fan velocity, Z, X, and Y move. It is prepared to show up to two nozzles on screen.
When printing, the items on screen rearrange to display the printing duration, the progress, a button for pause and another one for stop. The following video shows it in operation.
It is small, you can say! I definitely agree. Compared to common graphical LCD used by default on Marlin, such as the 128x64 ones, the 84x48 pixels make it difficult to figure out how to put all this info on screen and also make these nano 8x8 icons. But you know, make it with what you have! These are the ones lying around me. I hope to buy or win a larger one and implement these features for it.
Although it is an experimental thing and there are some corners to shape, you can run it on your printer! The general instructions are:
- Wire the LCD controller: You need four IO pins for CE (chip enable), DC (data command), DAT or DIN (Data Input), and CLK (Clock). On AVR boards, it is recommended to use 1K ohm resistors on these lines. I also have some success wiring it to Hardware SPI on AVR boards, i.e., using the SPI bus (CLK and MOSI pins) and another two IO pins for CE and DC. However, I recommend you to do not use HARDWARE_SPI, as it almost always conflicts with other SPI related stuff on Marlin, for example, SD Cards. I had to reduce the SPI clock to SPI_QUARTER_SPEED for it to work on the SPI bus.
- Define the pins used in the pins_YOURBOARD.h file: Add the four defines below in the pins_YOURBOARD.h, where YOURBOARD is your printer board name. Check pins_ANET_10.h or pins_BLUE_PILL.h for a reference.
#define SLCD_CLK_PIN  PIN?
#define SLCD_DAT_PIN  PIN?
#define SLCD_DC_PIN   PIN?
#define SLCD_CS_PIN PIN?- Change Configuration.h and include a line
#define NOKIA5110_LCDnear the LCD / Controller Selection section (around line 1800). You should comment the other display controller enabled. - Build and upload it to your printer! ;D
The complete source code is available here. The changes are mainly confined in the small_lcd folder, except by small changes in ultralcd.cpp and the inclusion of some lines in Conditionals_LCD.h. It is for Marlin 2.0 and supports both ARM and AVR boards.